

Hey bloggers!
Before I get into this post, I have an annoucement! I’ve decided to join the LBTL designing team. So, if you want your blog, image, or whatever designed by me, (or by another member of the our lovely design team!), go check out the design page!
I think @lrose5 was the first one to do one of these posts on here? But anyway, this isn’t really my original idea. I just thought it looked cool and I wanted to show you all my featured image designing process. I recently made about 25 featured images on my blog for the 25 days of Christmas, so I feel that I’ve improved by doing so.
Anyway, I use Canva for my graphic designs. I think it’s pretty easy to use, and best yet, it’s free.
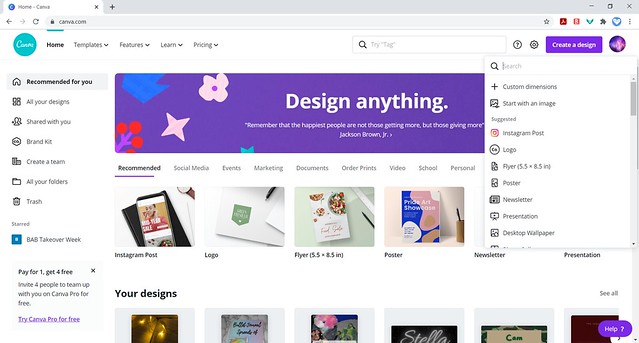
I start by clicking on “create a design.” I usually use the Instagram Post size, but for some reason, I use the Desktop Wallpaper for LTBL.

Okay, so then you’re led to this screen. I used to use the free stock photos Canva provides, and I still think that those images can make a really great featured image, but lately, I’ve transitioned to using photos I’ve taken myself. It adds a more personal and unique touch.

Anyway, after choosing a cool photo I’ve taken, I upload it.
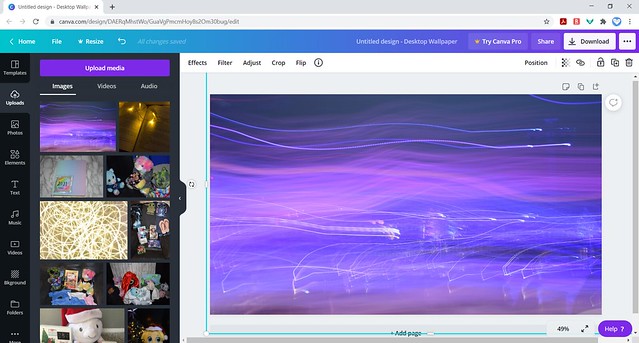
Then I resize the image so it fills the whole design. For this particular image I also tinted it blue a little.

Okay, so my next step is to add a square. I resize it and center it.
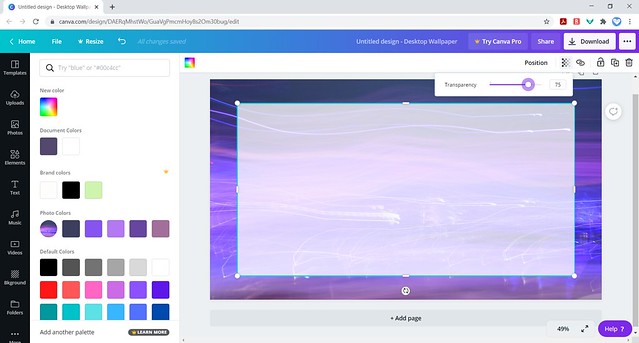
Then, I make the shape partly transparent. Sometimes it’s 50% transparent, and other times 80%. This particular one is 75% transparent.

Okay finally, we’re at the text stage of featured images. I start by typing out the title of my post.
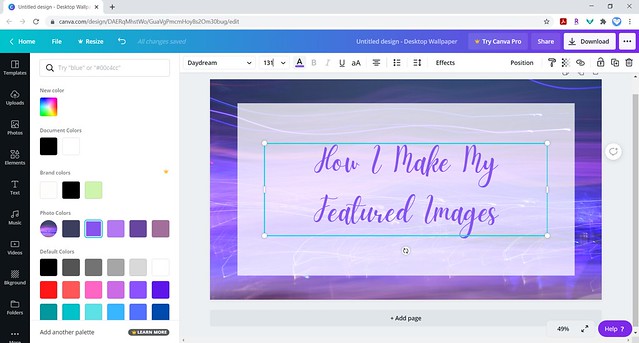
Now begins the agonizing process of selecting the right font. It’s a hard process, but for this one, I used the font “daydream.” I also choose a color that matches the background image and center the text.

And, because that’s not enough for me, I decide to add a text effect.
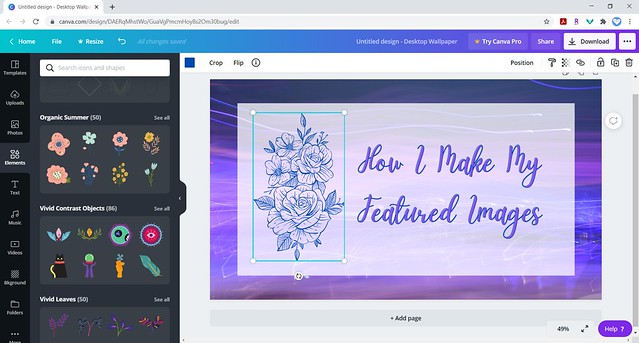
Still, I’m not done! I add an element, in this particular design, I chose a flower. Anyway, I rearranged my text to better fit the flower.
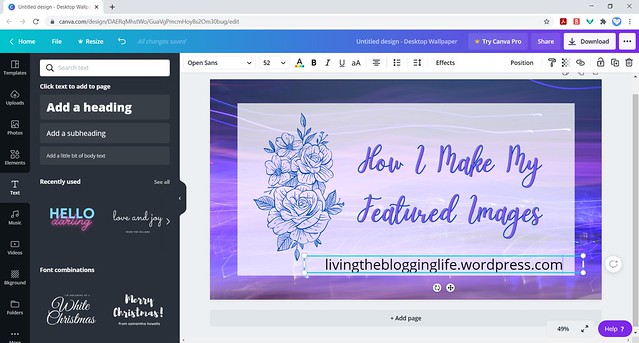
Now it’s time for a watermark! Honestly, I’ve gotten out of the habit of watermarking, but it’s good to do. Simply type your blog address,

…and then experiment with the perfect font, placement, and color.

Finally, we’re done! Click on download, and then add it to your post!
So, that’s how I make my featured images! I know it’s different than some, and also similar to others. Personally, I like my style of making featured images.
Make sure to stay tuned for more amazing content coming from the rest of the LTBL crew!


Your really good at explaining how to make them!😁
LikeLiked by 2 people
Thank you!
LikeLike
Amazing tutorial, Diamond!
LikeLiked by 1 person
Thank you!
LikeLiked by 1 person
Of course!
LikeLiked by 1 person
Great post!! Thanks for sharing!!
LikeLiked by 1 person
Thank you! Glad you enjoyed.
LikeLiked by 1 person
I love this tutorial! Great job!
LikeLiked by 1 person
Thank you Lizzie!
LikeLiked by 2 people
That’s really helpful! You were great at explaining this 😃
LikeLiked by 1 person
Aw, thanks!
LikeLiked by 2 people
Thanks for sharing! this is really helpful!😄
LikeLiked by 1 person
Thank you! I’m glad.
LikeLiked by 2 people
Nice
LikeLiked by 2 people
Thanks!
LikeLiked by 2 people
Glad to know I’m not the only one using the instagram post templates! Any idea why mine always show up so large? What would you recommend to fix that?
LikeLiked by 1 person
Hmmm it might be that the theme you’re using isn’t suited for that size?
LikeLike
Maybe…. But I can’t find a better template. Logo is a good size but then I have to make the whole thing from scratch. *sighing*
LikeLiked by 1 person